Crop Photo in Diamond Shape to Mimic Page Elements
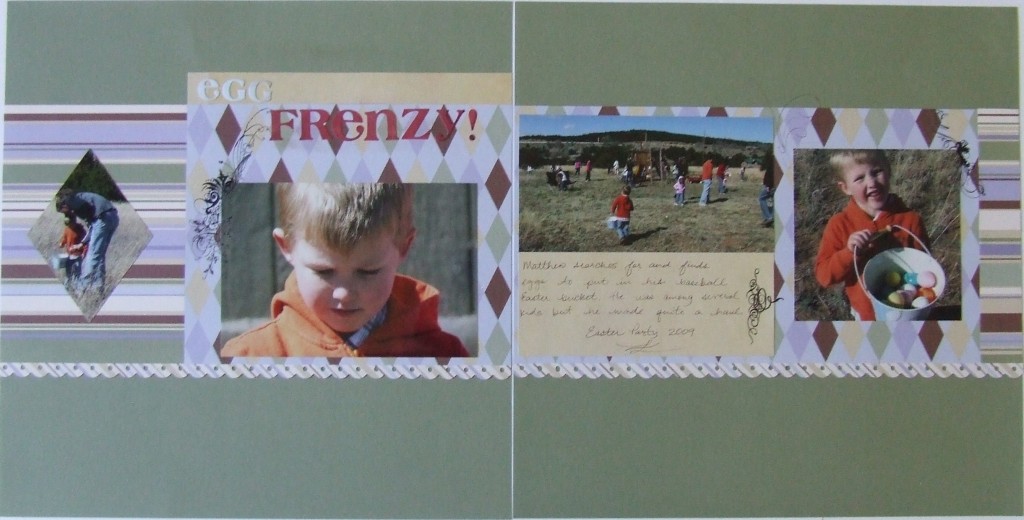
The great race to find eggs and fill baskets was on and I snapped photos as fast as I could. In this “egg frenzy” layout I used a basic of photo cropping to create a cohesive look across the design. The photo on the far left is cropped to match the diamond pattern in the harlequin print I used behind the other photos.
The diamond shape really serves two purposes because it ties the basic diamond shape to the printed paper in addition to the fact that it visually breaks up that busy stripe I placed behind it. The busy stripe not only coordinates with the other papers, it lends a busy feeling which I wanted to achieve in that it was a “frenzy” to get those eggs.
Cropping a diamond-shaped photo is easy but it does take some patience and measuring. So be patient and get your favorite ruler out. Here’s what you do: Find the center of the photo area you want to keep and not cut away during the cropping process. A good rule of thumb is to make the width ¾ of the length of your photo. In this case, my photo is 3 inches wide by 4 inches long. So crop your photo using these dimensions lining up the area you want to keep as the center of your photo. Next, find and mark the center of each edge. So on the long sides the center is at 2 inches while on the shorter sides the center is at 1 ½ inches. I make a small mark with a photo safe pen on the back side of the photo. Then, to get the diamond shape, use your trimmer to line up the marks and cut perfectly straight edges to your new diamond shape.
Good luck and have fun making some diamond-shaped photos for your layouts!
Categorized as: Easter | Embellishments | Photos

