Candy Corn Cookies
So I was cruising around on Pinterest for novelty recipe ideas for our annual Fall party and I found some super cute Candy Corn Cookies and decided to make my own.
I actually made the dough from scratch but I really didn’t want to roll them and cut them, so I just made a log and refrigerated it. Then I shaped the chilled log into a three sided log so that when I sliced off a 1/4-inch piece I would have a triangle-shaped cookie. I baked them all and they worked perfectly! Except they weren’t orange. I was blissfully oblivious but I still never had to get the rolling pin out.
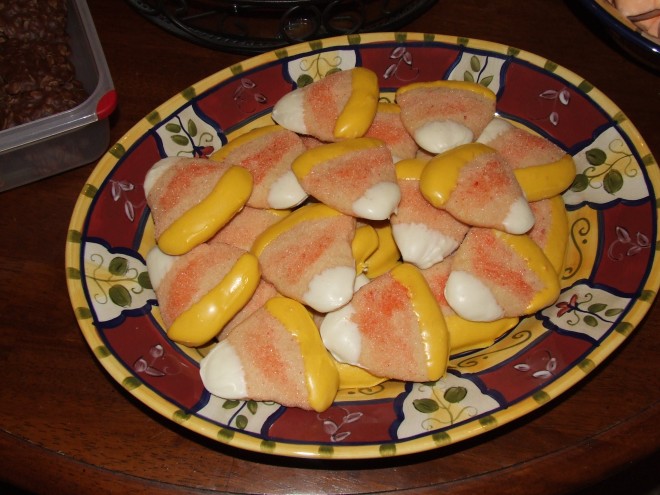
It was only when it came time to decorate these cookies that I realized I had forgotten to die the dough orange. I had WAY too many things going on with planning the party, making sure everybody was invited (using different methods: e-mail, Facebook message, texting, pestering my husband), grocery shopping, decorating, etc. and it just slipped my mind. So I improvised. I made orange sugar by putting sugar and orange food coloring (equal parts red and yellow) in a zippie sandwich baggie and shaking it around till the sugar was coated. Then I poured the sugar out onto a clean, cool tray lined with paper towels. When the sugar was dry I put it in a pie plate and I put some water in a ramekin next to it. Then I dipped my finger in the water and swiped it across the center of the cookie and dipped the face of the cookie into the sugar. That’s how I got the orange on those babies. A little time intensive but at least they were the color I wanted. : )
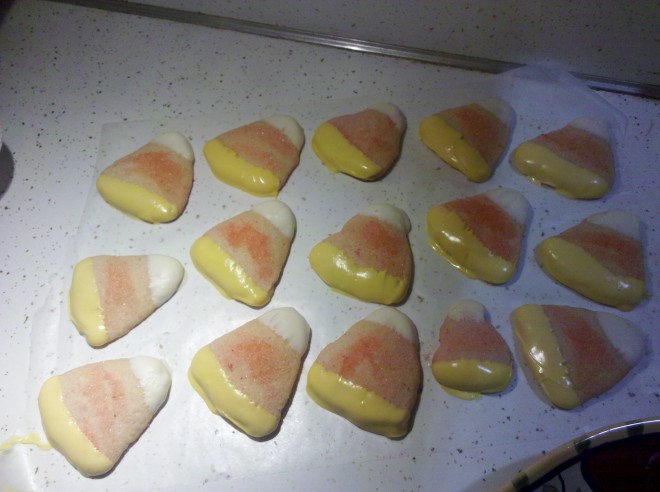
For the tips, I melted some of those colored candy discs (got them at Hobby Lobby) with my microwave and dipped the cookies. I chose to do yellow for the wide edge and white for the tip just like traditional candy corn. However the original recipe I saw called for dark chocolate at the wide part and white chocolate for the tip. Once you dip, then you want to set the cookies on a wax paper till they cool completely. Room temperature works just fine but if you’re impatient and you have a whole shelf available in your fridge, then put them in there to speed up the process. I never have a free shelf in the fridge so I went with the room temperature countertop method. The dipped candy parts are super shiny when they are wet and not firm yet and then they get a matte finish when they are ready for transport to the platter or the mouth.
The Pinterest picture that sparked my making these was linked to this story from Country Living.
I liked mine just fine – and so did everyone who had two – no one had just one. They made a very festive addition to our table that night and I’ll be making these babies again.
Categorized as: Cooking | Halloween


