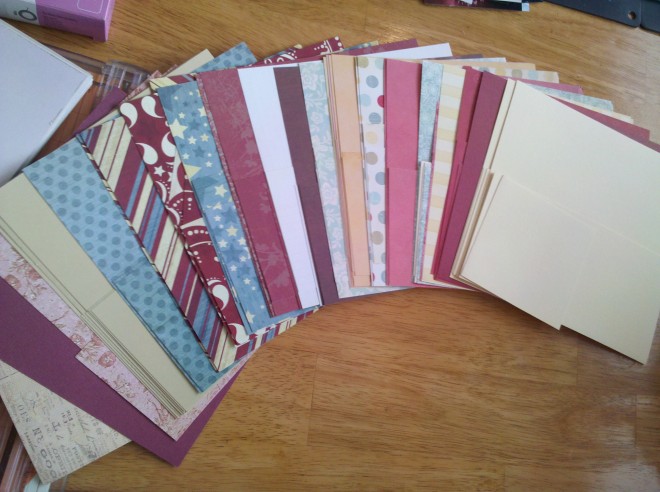
Making a Quick Album – Gather Supplies Before Getting Started
If you’re going to make an album and you want one cohesive look throughout that album, then I suggest you gather all your papers and embellishments ahead of time. Whether you buy coordinating paper packs and embellishments or scour your existing supplies to find papers, stickers, sentiments, bling, titles, inks etc. that match just get everything together before you start. It’s really about reorganizing the order in which you do things – remember math class and the order of operations? – this is kind of like that only it’s fun because you’re not really in danger of getting a wrong answer. Getting everything together in one big pile before you start scrapbooking anything is an easy way to organize and stay organized while making a quick album. Once you have everything together, you can alleviate flipping through your stash looking for embellishments that fit – basically you do all your flipping up front. Even if you need to go purchase a couple things to match, the fact that you won’t have to look for things later does indeed save you time.
Once your supplies are gathered, you can store your project altogether in one folder when you’re not working on it. Then you can get to it quickly to work on it or take it to a crop or a friend’s house to scrap together. Being organized facilitates the speed and efficiency with which you can complete the album. And let’s face it, when there is a gift album there is usually a deadline like a birthday or special date you want to give the gift – so staying on schedule is important.
This method is a good way to control your budget as well. By gathering everything together in one step, you can control or at least calculate your cost before getting going. Good to know if you’re trying to keep to a specific number or especially if you’re being reimbursed.
PLUS, if your skills have been commissioned by a friend then this is a GREAT way to see if your friend likes the general look of the album before you get started. Then you can be left to your creative devices no matter the hour of day you choose to work on the album without worrying whether your friend will like what you’re creating. (I did this on a cookbook I created once – see the post.)
When I’ve created albums this way, after I gather matching papers, embellishments, etc., then I cut all the papers to the size I want (I have found I am partial to the 8×8 albums as gifts) and this is a quick way to see if I have enough papers to fill my album. If not then I either dig some more, purchase papers or introduce a new color to the color scheme using the papers I do already own. Once I’m satisfied that I have everything I need to complete the album, I start scrapbooking the album pages. If I have photos to add to the album, then I add them as I wish, but if I don’t have photos, then I try to make pages that can rotate (see my previous post about rotatable pages).
Basically, creating a quick album is all about preparation and giving yourself peace of mind that what you’re creating is going to be absolutely adored by the person you’re giving it to.
Categorized as: Album | Color Tricks | Cost-efficiency | Embellishments | Layouts | Scrapbook | Templates

