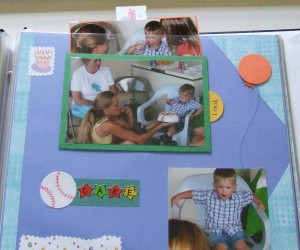
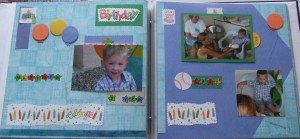
Hiding Photos and Other Elements
If you have one or two too many photos to fit into your layout somehow, then consider tucking one behind another. It’s surprisingly simple to pull off and you probably already have the supplies to do it. Here’s what you do: choose the picture you want to show all the time on the page and choose a mat for it. Make sure the mat is big enough to accommodate your pop dots, foam squares or foam strips. Mat the photo that will show all the time on the “front” of the mat. Next, place the mat photo side down and set the photo you’ll hide on the mat. Do not adhere the photo to the mat. Place foam on the mat, around three edges of the photo, leaving the fourth edge as the one where the photo will slide out. You might want to lay your photo across the edge where it will slide out as you place the foam just so that you are sure it can fit. Then what I did is use a small square of paper and adhered that to the back of the photo that will slide out – it will act as a handle. Next set aside the photo that will slide out and place your mat on your layout where you want it. The foam will lift the front photo up and act as a barrier for the back photo so that it doesn’t slip right on through. Using your handle on the second photo, slide it behind the first one. Neat huh?
Categorized as: Embellishments | Simple


